
🖥️ Reclaiming Hard Drive Space: A Deep Dive Into Deleting Windows Temporary Files
When your Windows PC starts feeling sluggish or storage space mysteriously disappears, temporary files are often the silent culprit. These files accumulate as Windows and your applications work behind the scenes—storing backups, caching data, and helping recover information when something goes wrong. Over time, they pile up, eating into valuable disk space and slowing performance.
A recent PCWorld guide breaks down exactly why these files exist and how to safely remove them to restore breathing room on your hard drive. Let’s expand on that foundation and turn it into a comprehensive, user-friendly blog entry you can publish on your tech site.
🧹 The Hidden Clutter: What Temporary Files Really Are
Temporary files—often called temp files—are created by Windows and various applications to store short-term data. They serve several purposes:
Backup during active tasks
Caching information for faster access
Recovering lost data after crashes
Storing installation or update leftovers
While they’re useful in the moment, Windows doesn’t always clean them up afterward. That’s where you come in.
💾 Why Removing Temp Files Matters
A hard drive creeping toward full capacity can cause:
Noticeably slower performance
Longer boot times
Application crashes
Failed Windows updates
Reduced lifespan of SSDs due to unnecessary writes
Clearing temp files is one of the fastest, safest ways to reclaim space and improve system responsiveness.
🛠️ How to Safely Delete Windows Temporary Files
PCWorld outlines a straightforward method using the Command Prompt, and it’s a great approach for both beginners and power users.
1. Open the Run Dialog
Press Windows + R on your keyboard.
2. Launch Command Prompt
Type CMD and hit Enter.
3. View Temp Files (Optional but Recommended)
If you want to inspect what’s about to be deleted, enter:
%SystemRoot%\explorer.exe %temp%\
This opens your Temp folder in File Explorer. Press Ctrl + A to select everything, then delete.
4. Delete Temp Files Automatically
Prefer a faster, no-click method? Use:
del %temp%*.* /s /q
This command clears all deletable temp files. Windows will automatically skip anything currently in use, so you won’t break anything.
5. Restart (Optional)
A reboot ensures any locked temp files are released and can be removed later.
🔐 Is It Safe to Delete Temp Files?
Yes—generally speaking. Windows is smart enough to protect files that are actively needed. Still, PCWorld recommends backing up your data before making system-level changes. It’s a good habit for any maintenance task.
🚀 How Often Should You Do This?
For most users, once every 1–2 months is plenty. For heavy gamers, video editors, or anyone working with large files, a bi-weekly cleanup keeps things running smoothly.
🧭 Bonus Tip: Automate Your Cleanups
Windows includes built-in tools like Storage Sense and Disk Cleanup, which can automate temp file removal. But the Command Prompt method remains the fastest and most thorough.
📝 Final Thoughts
Temporary files are a natural byproduct of using your PC, but they don’t need to stick around forever. With a few quick commands, you can reclaim gigabytes of space and keep your system running at peak performance. PCWorld’s guide offers a simple, effective method that anyone can follow—and now you’ve got an expanded version ready for your blog audience
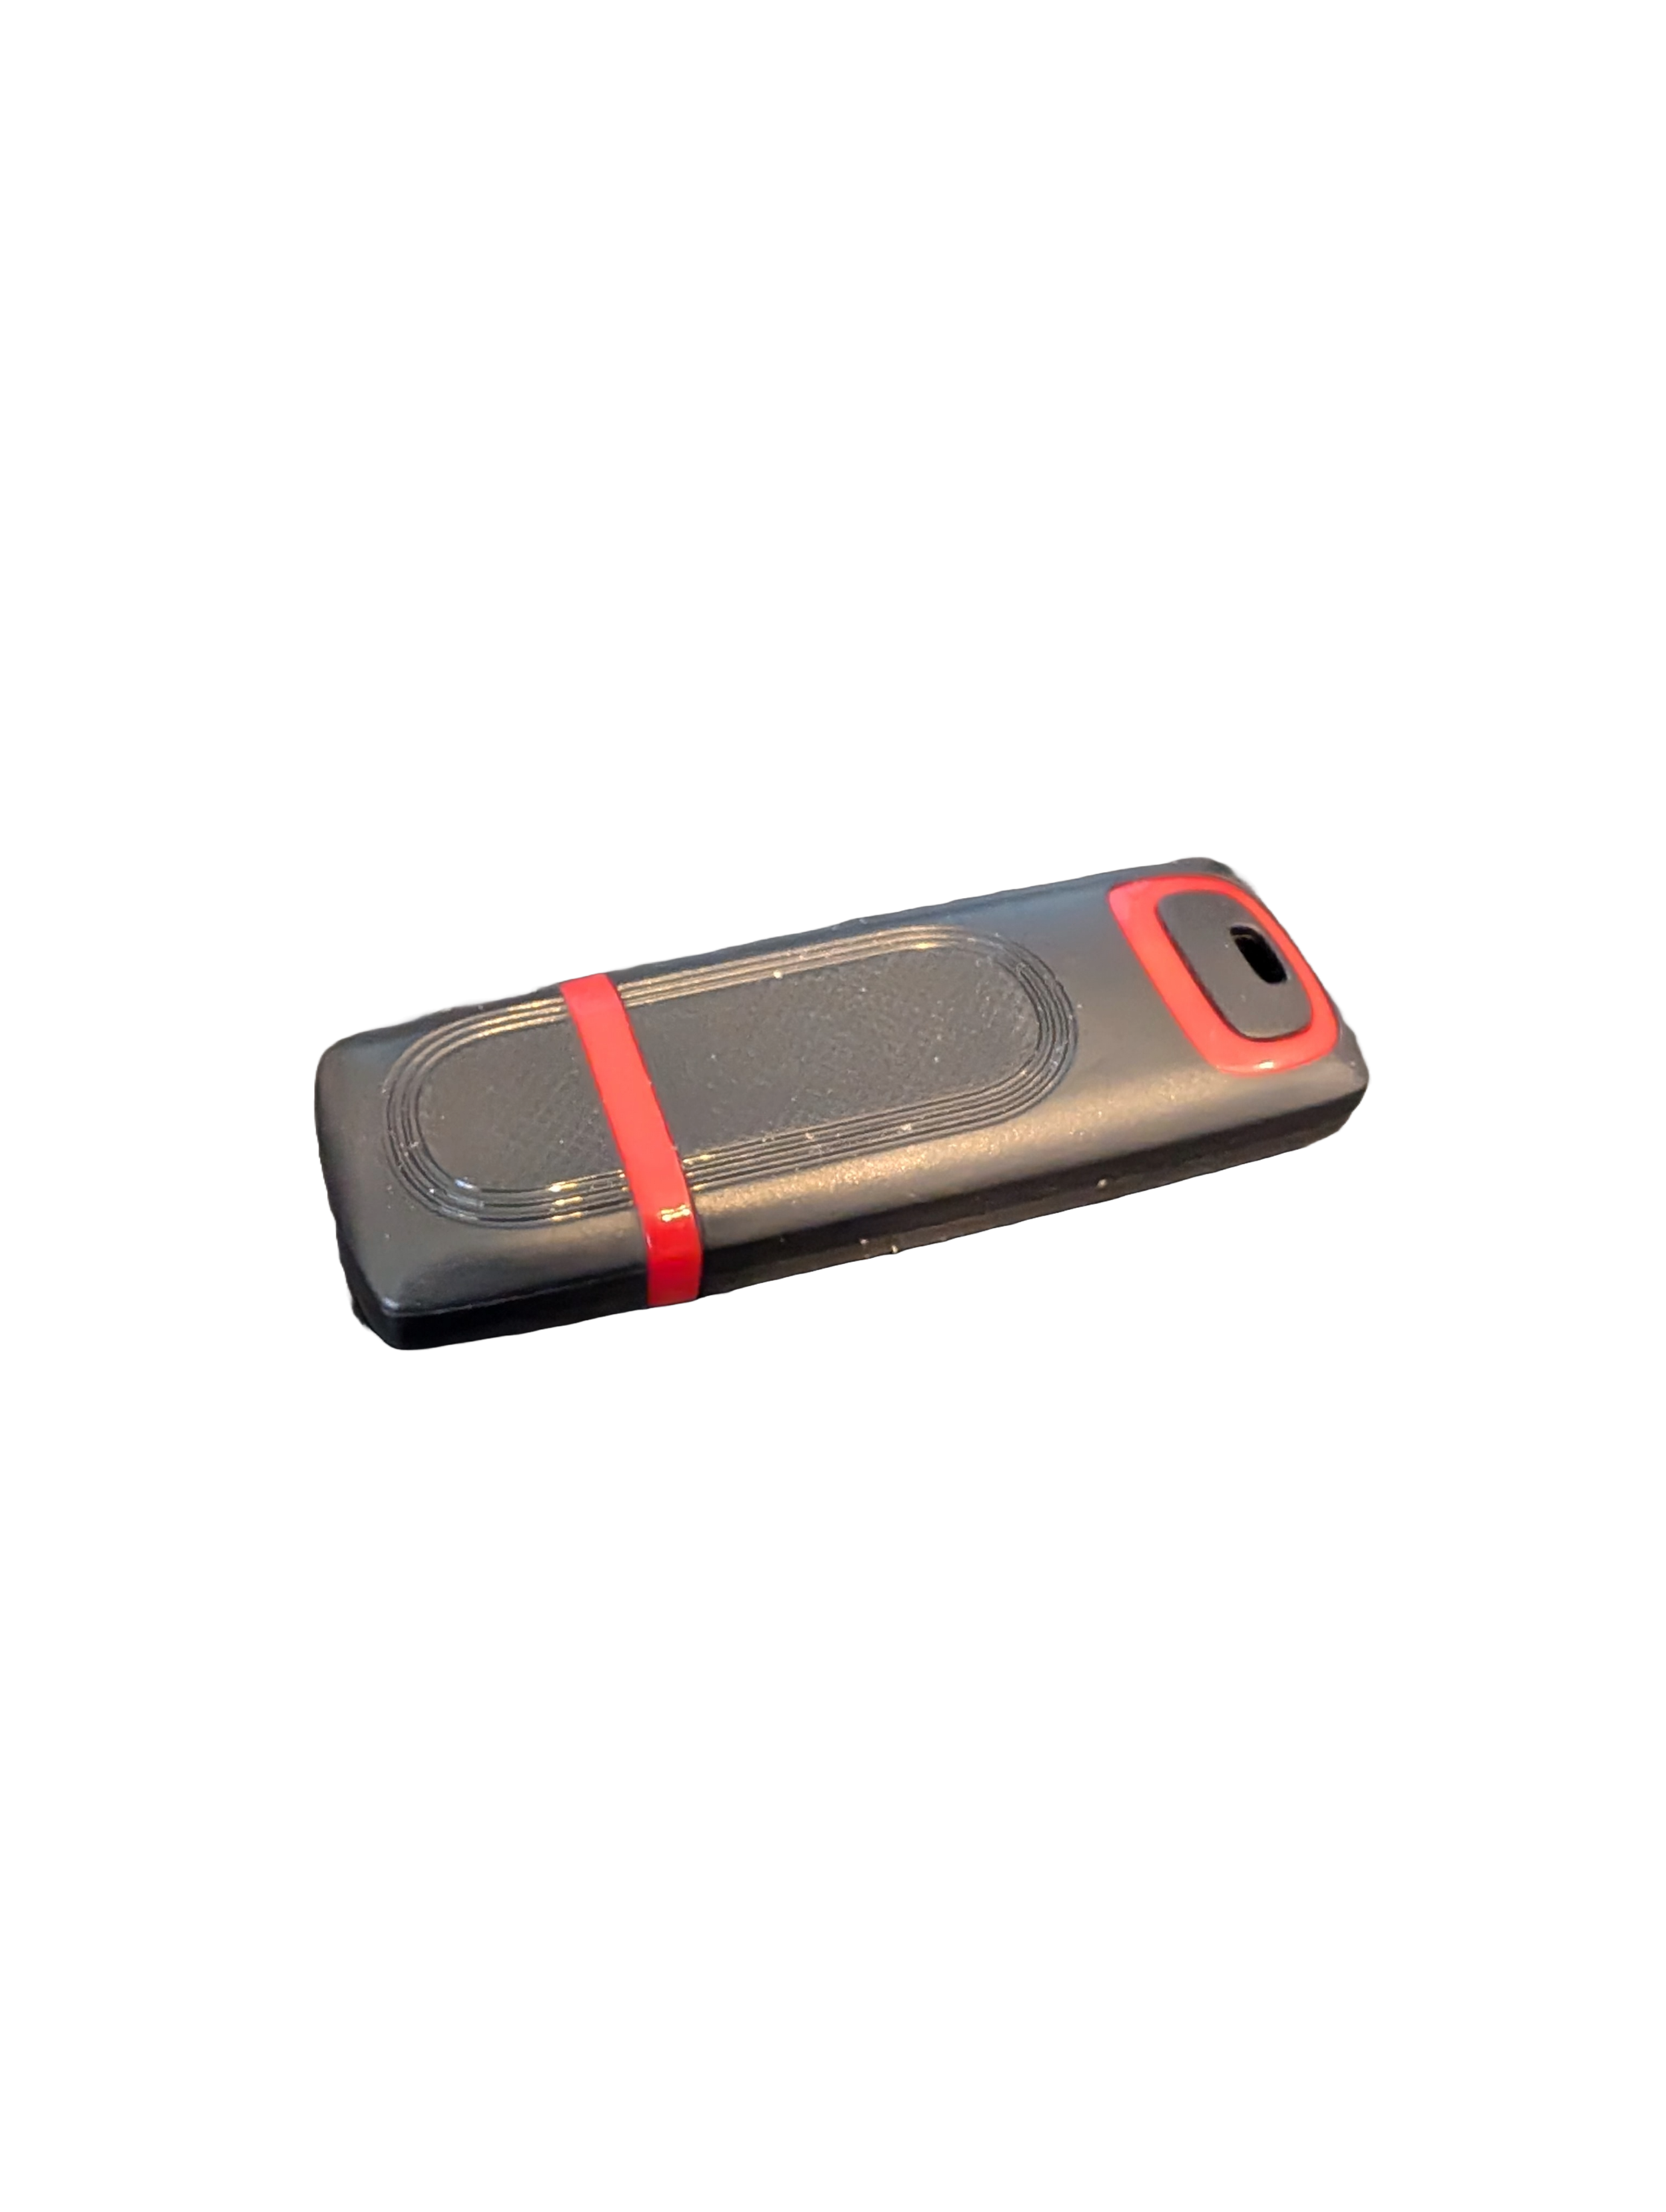
🖥️ Give Your Slow Windows PC a Fresh Boost
This plug‑and‑play Windows Computer Tune‑Up USB Drive is a complete performance‑restoration toolkit for desktops, laptops, and tablets. No installation required — simply plug it in and run the tools directly from the USB.
Perfect for speeding up slow computers, removing junk software, fixing performance issues, and cleaning malware.
🔧 What’s Included (Tools & Utilities)
Your USB drive comes preloaded with a curated suite of essential PC maintenance tools:
Windows manual update utility
Software removal & cleanup tools
Startup optimizer
Virus & malware scan/removal utilities
Disk cleanup utility
Defrag tool
Windows performance tweak utility
Registry cleanup & optimization
Note: USB brand and appearance may vary. Self‑Updating: Tools automatically stay current when connected online.
🚀 Why This Tune‑Up USB Is Better
✔ No installation required
Runs directly from the USB — ideal for damaged or slow systems.
✔ Safe, portable, and beginner‑friendly
Includes step‑by‑step instructions and a full tune‑up checklist.
✔ Works on all modern Windows PCs
Compatible with Windows desktops, laptops, and tablets.
✔ Fixes the most common PC problems
Slow startup, cluttered software, malware infections, lag, freezing, and more.
🛠️ Ideal For
Slow or aging computers
Family PCs that need regular cleanup
Students, home offices, and small businesses
Technicians who want a portable toolkit
📦 What You Get
1× Preloaded Tune‑Up USB Drive
Full instructions + tune‑up checklist
Lifetime updates to included tools
THERE IS NO GUARANTEE THIS PRODUCT WILL FIX YOUR SPECIFIC ISSUE OR IMPROVE PERFORMANCE