
How to Remove Bloatware from Windows 11: A Comprehensive Guide
Introduction
With every new device or operating system installation, the excitement is often dampened by the presence of unwanted software cluttering your system. This software, commonly known as bloatware, not only takes up valuable storage space but can also slow down your computer's performance. Fear not! In this guide, we will explore effective methods to identify and remove bloatware from Windows 11, ensuring a smoother and more efficient computing experience.
Why Remove Bloatware?
Improved Performance: Unnecessary programs running in the background consume system resources, which can slow down your computer. Removing bloatware frees up these resources, leading to a noticeable boost in performance.
More Storage Space: Bloatware occupies valuable storage space that could be better utilized for important data and applications. Eliminating these redundant programs can free up significant amounts of space.
Enhanced Security: Pre-installed software can sometimes pose security risks. By removing bloatware, you reduce the potential attack surfaces, making your system more secure.
Identifying Bloatware
To begin the cleanup process, it's crucial to identify which applications on your system qualify as bloatware. These are usually trial versions of software, redundant system tools, or third-party applications that you never use. Websites like “Should I Remove It?” provide detailed information on common bloatware and how to safely remove them.
Removing Bloatware Using Windows Settings
Open Settings: Press
Windows + Ito open the Settings app.Navigate to Apps: Go to
Appson the left-hand side, then click onInstalled apps.Uninstall Unwanted Programs: Scroll through the list, click on the three dots next to the unwanted program, and select
Uninstall.
Advanced Removal with Powershell
For more stubborn applications or those not listed in the Settings menu, you can use Powershell commands:
Open Powershell: Right-click the Windows Start button and select
Windows Terminal (Admin).List Installed Apps: Type
Get-AppxPackage -AllUsers | Select Name, PackageFullNameand press Enter. This will display a list of installed applications.Uninstall Applications: Use the command
Get-AppxPackage -AllUsers [App-Name] | Remove-AppxPackage, replacing[App-Name]with the name of the application you wish to remove.
Using Specialized Tools
Several third-party tools can automate and simplify the process of removing bloatware:
CCleaner: A versatile tool for cleaning and optimizing your system, including uninstalling unwanted programs.
IObit Uninstaller: Thoroughly removes programs and traces of software installations, including browser extensions.
O&O Appbuster: Offers a user-friendly interface to remove Windows and third-party applications.
Conclusion
By following the steps outlined in this guide, you can reclaim your system’s performance, storage space, and security. Regularly reviewing and removing unnecessary software ensures that your computer runs smoothly and efficiently. Happy cleaning!
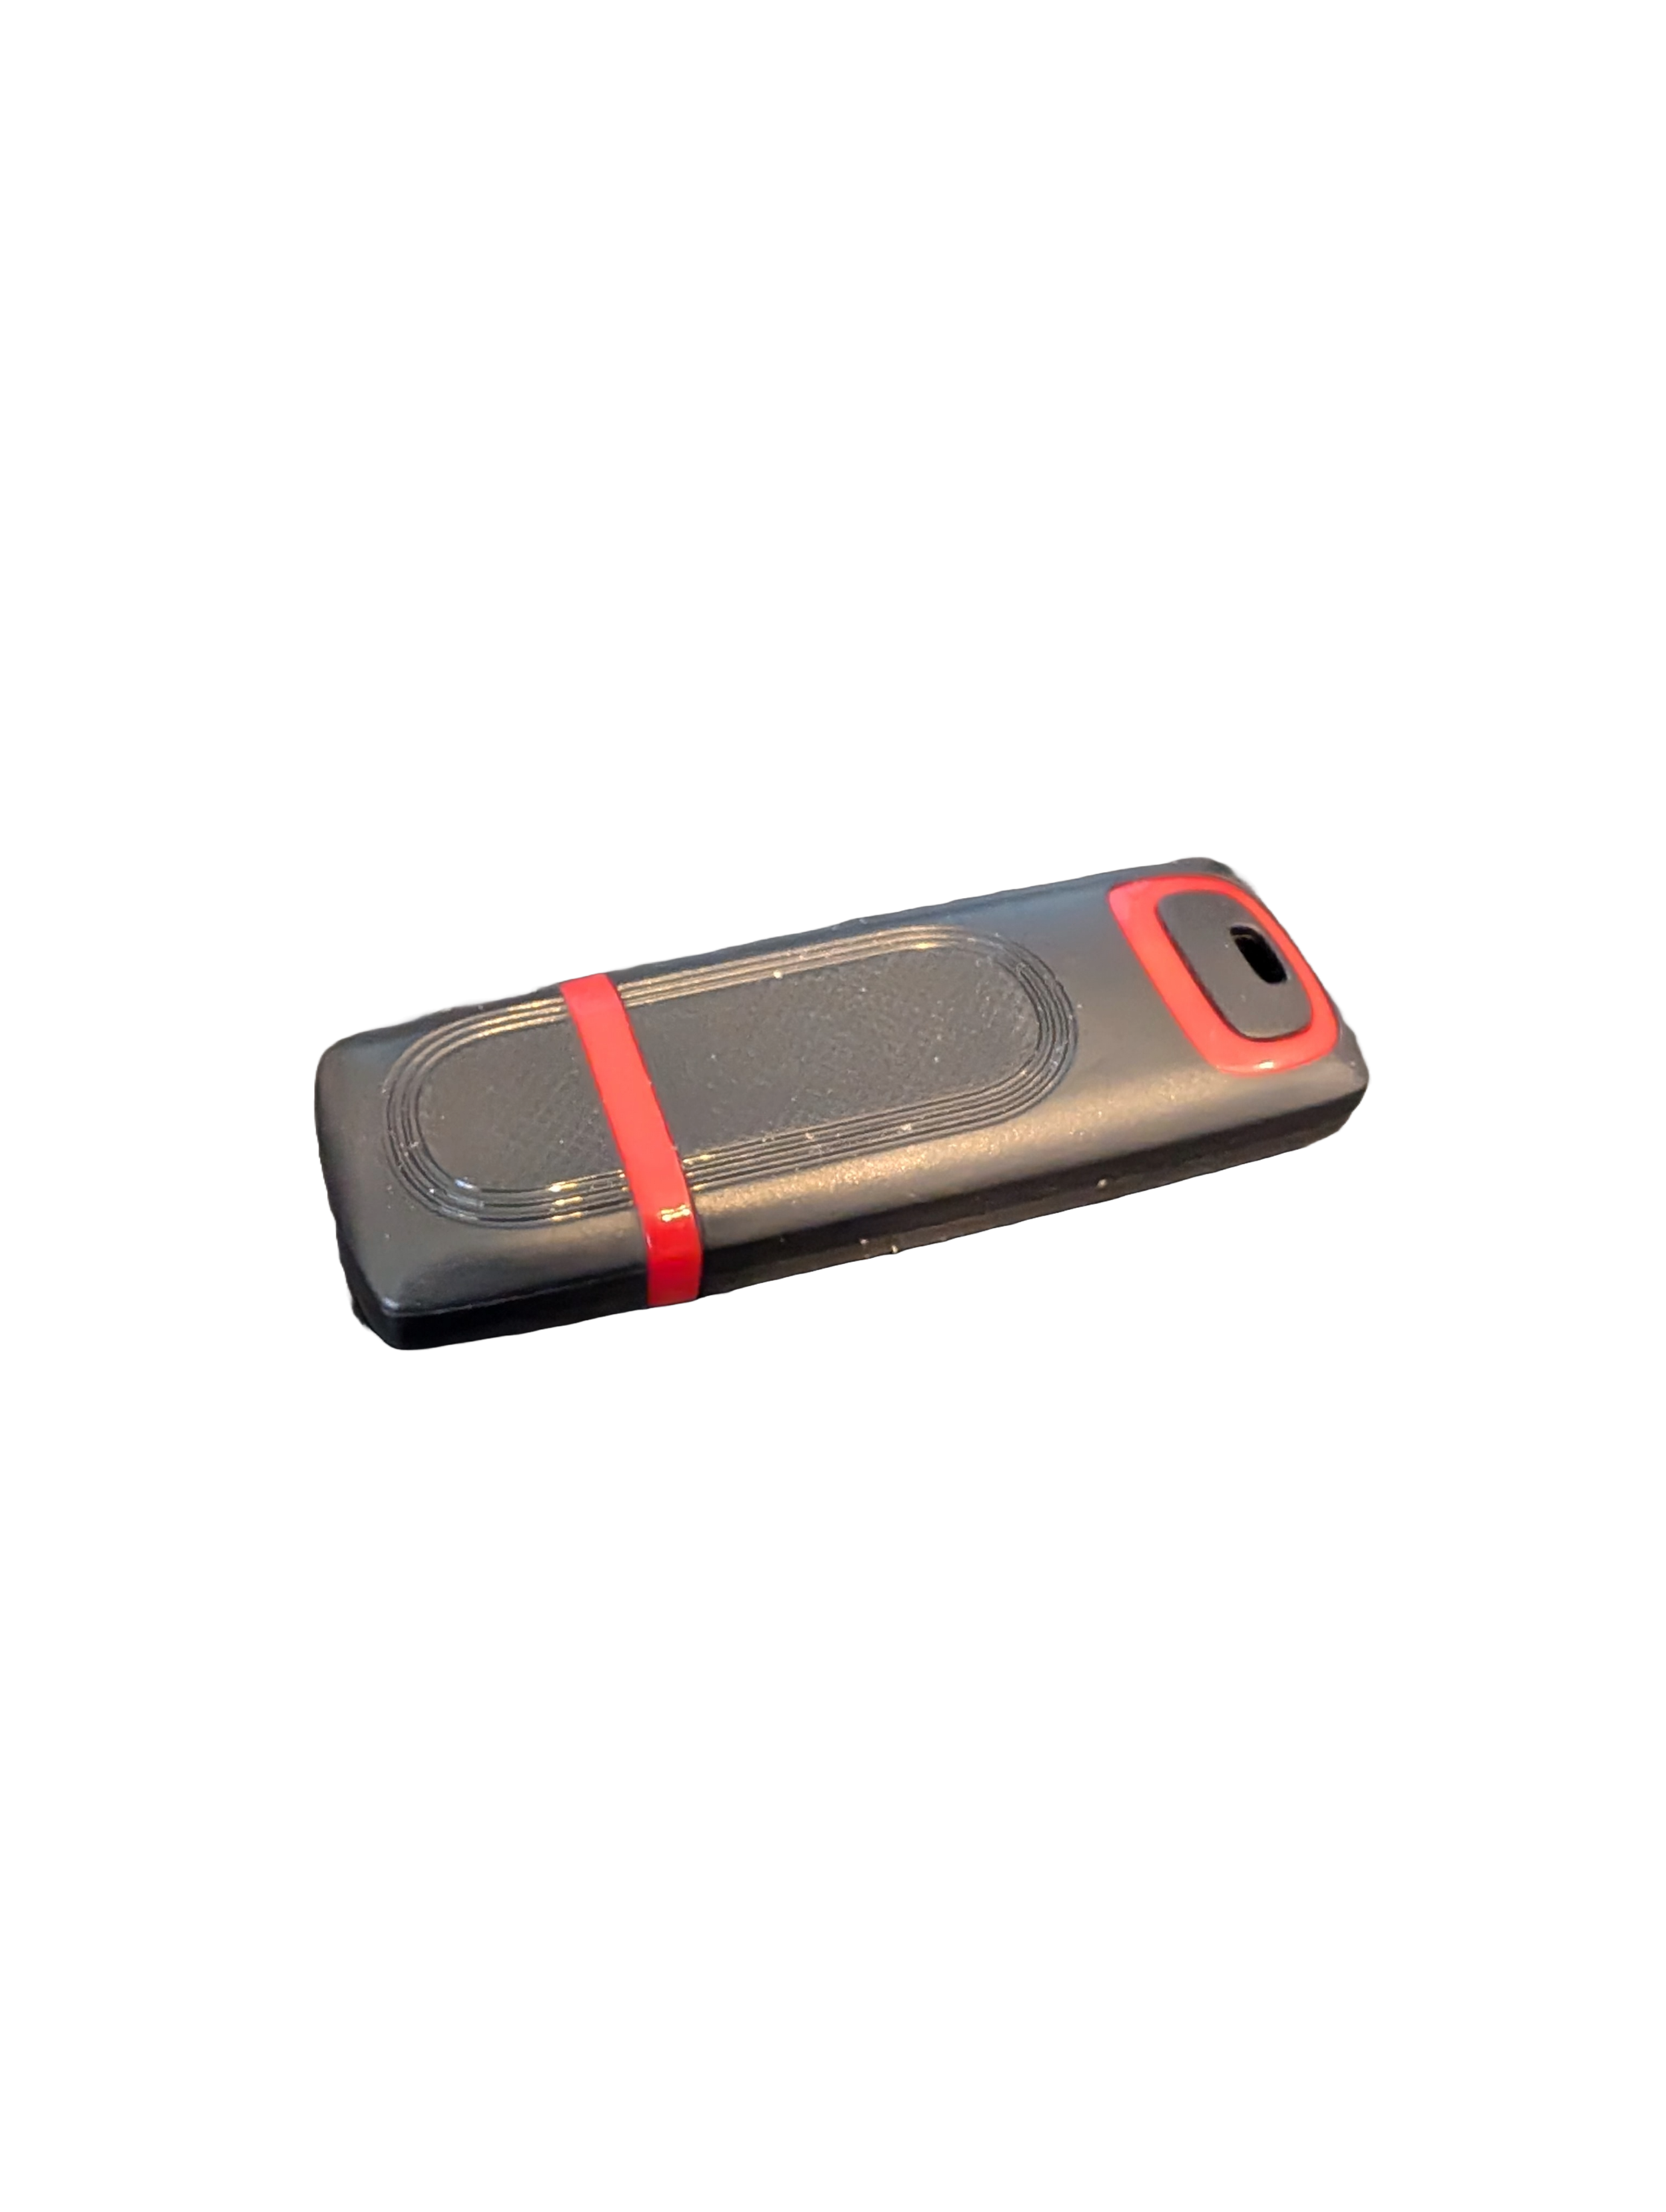
🖥️ Give Your Slow Windows PC a Fresh Boost
This plug‑and‑play Windows Computer Tune‑Up USB Drive is a complete performance‑restoration toolkit for desktops, laptops, and tablets. No installation required — simply plug it in and run the tools directly from the USB.
Perfect for speeding up slow computers, removing junk software, fixing performance issues, and cleaning malware.
🔧 What’s Included (Tools & Utilities)
Your USB drive comes preloaded with a curated suite of essential PC maintenance tools:
Windows manual update utility
Software removal & cleanup tools
Startup optimizer
Virus & malware scan/removal utilities
Disk cleanup utility
Defrag tool
Windows performance tweak utility
Registry cleanup & optimization
Note: USB brand and appearance may vary. Self‑Updating: Tools automatically stay current when connected online.
🚀 Why This Tune‑Up USB Is Better
✔ No installation required
Runs directly from the USB — ideal for damaged or slow systems.
✔ Safe, portable, and beginner‑friendly
Includes step‑by‑step instructions and a full tune‑up checklist.
✔ Works on all modern Windows PCs
Compatible with Windows desktops, laptops, and tablets.
✔ Fixes the most common PC problems
Slow startup, cluttered software, malware infections, lag, freezing, and more.
🛠️ Ideal For
Slow or aging computers
Family PCs that need regular cleanup
Students, home offices, and small businesses
Technicians who want a portable toolkit
📦 What You Get
1× Preloaded Tune‑Up USB Drive
Full instructions + tune‑up checklist
Lifetime updates to included tools
THERE IS NO GUARANTEE THIS PRODUCT WILL FIX YOUR SPECIFIC ISSUE OR IMPROVE PERFORMANCE